Finding Mac equivalents to a number of useful Windows programmes and features, like the Windows Snipping Tool, may be difficult if you switched from a PC running the Windows operating system to an Apple iMac or Macbook running Apple’s macOS. You’ll be happy to know that Apple has its own alternative to the convenient Windows Snipping screen capture tool for macOS, which is just as simple to use with shortcuts on Mac. This tool is used to take screenshots or sections of your screen as an image.
Shortcuts for using the snipping tool on Mac
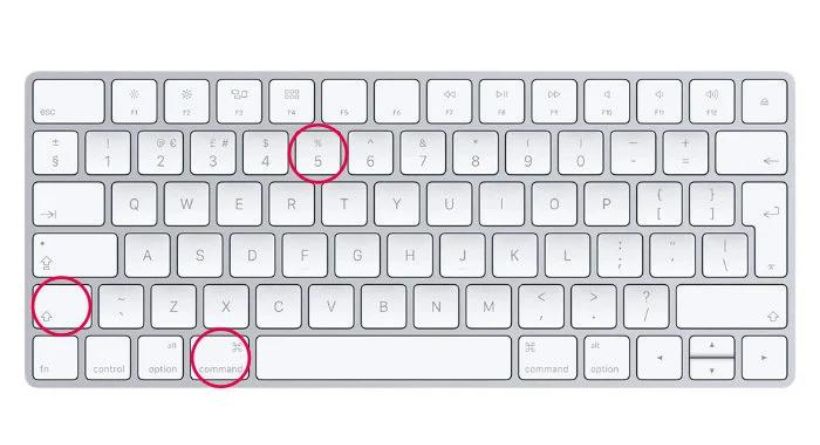
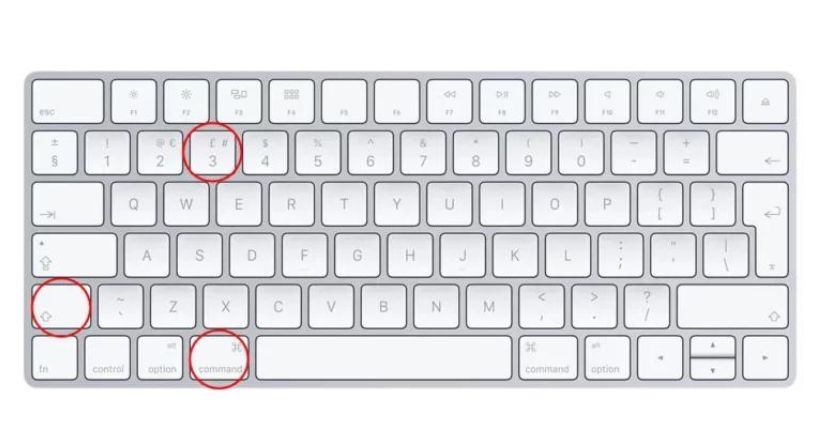
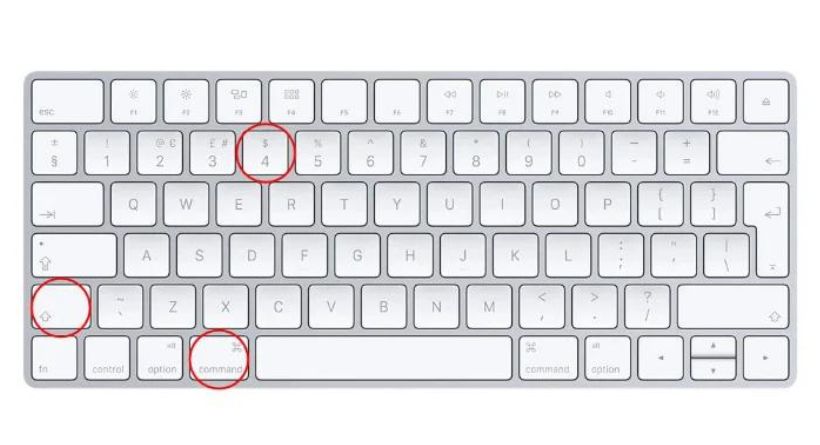
You can reach the primary control panel of the Mac snipping tool by pressing Shift, Command, 5, but you can also screenshot your whole Mac screen quickly by pressing Shift, Command, and 3, or you may screenshot only a portion of your Mac screen by pressing Shift, Command, and 4.
You may open the Mac Snipping tool control panel (shown below) at the bottom of your screen by pressing Shift, Command, 5 on a MacBook or an iMac running macOS Mojave or a later version of the operating system. You may do a number of screen capture tasks here, including taking screenshots, selecting a portion of your screen, and recording recordings of your screen for lessons and instructional films. Apple has also offered a number of helpful options that you may utilise to further tailor your workflow if necessary.
Mac Snipping tool options
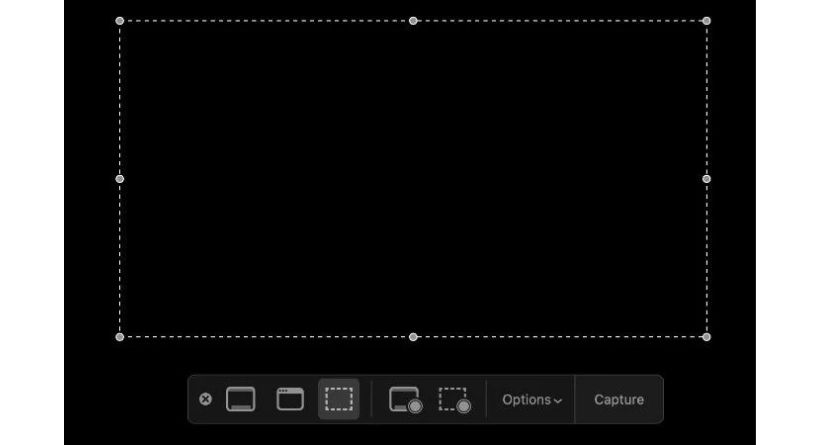
Clicking on the cross within the circle, beginning on the left, will dismiss the Mac snipping tool and take you back to your desktop. The following three buttons let you capture your Mac’s whole screen and take screenshots; the second button from the left lets you choose a window to capture; and the dashed rectangle button lets you select specific areas of the screen to capture. A tooltip will appear when you hover your cursor over any button, reminding you what it does.
You can record video of your Mac screen using the following two buttons with circles in the bottom right corners; the first one lets you Record the Entire Screen, and the second one with a dashed rectangle lets you Record Selected Portions of your Mac desktop.
Changing the default Mac Snipping tool save location
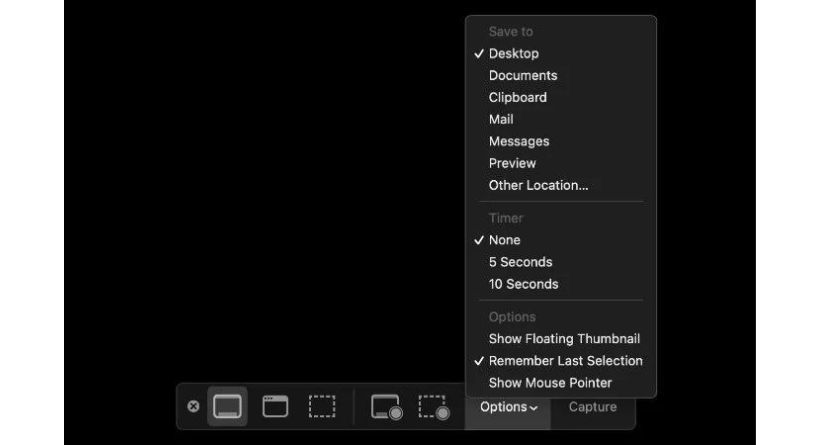
The Mac snipping tool also offers extra Options, allowing you to choose where you want to store any screenshots or videos you take using the tool on your Mac. The desktop is the default place for screenshots taken using the Mac snipping tool, but you may also choose to send them to your Documents folder, the Clipboard, the Mac Mail programme, the Message app, the Preview app on macOS, or a Custom Location of your choice. Other options include the ability to show floating thumbnails, remember the last selection, show the mouse pointer, and set a timer for 5 or 10 seconds.
Since I’ve used both the Windows and Mac versions of the snipping tool alternative, I can honestly say that the macOS version is a little bit easier to use and the options are simpler to access using the shortcuts above, whether you’re taking a screenshot, selecting a portion of the screen, or recording a screen video. However, both platforms provide a simple method for recording your screen as pictures or videos.